Enabling HTTPS on GitLab plugin for FreeNAS
Overview
FreeNAS is a free and open-source operating system intended to be used on Network Attached Storage (NAS) devices. Based on FreeBSD, FreeNAS combines the features and services of a regular Unix-like operating system with the robustness of the OpenZFS filesystem. I built a FreeNAS box nearly five years ago and it has been running smoothly ever since.
One of the useful features of FreeNAS is its plugin system which allows applications to be installed and run in FreeBSD jails without requiring an additional server. iXsystems, the maintainers/developers of FreeNAS, offer a currated collection of plugins and there is also a list of plugins created by the community. Applications run in BSD jails and plugins take care of the overhead of creating and configuring a jail then installing and configuring the desired application.
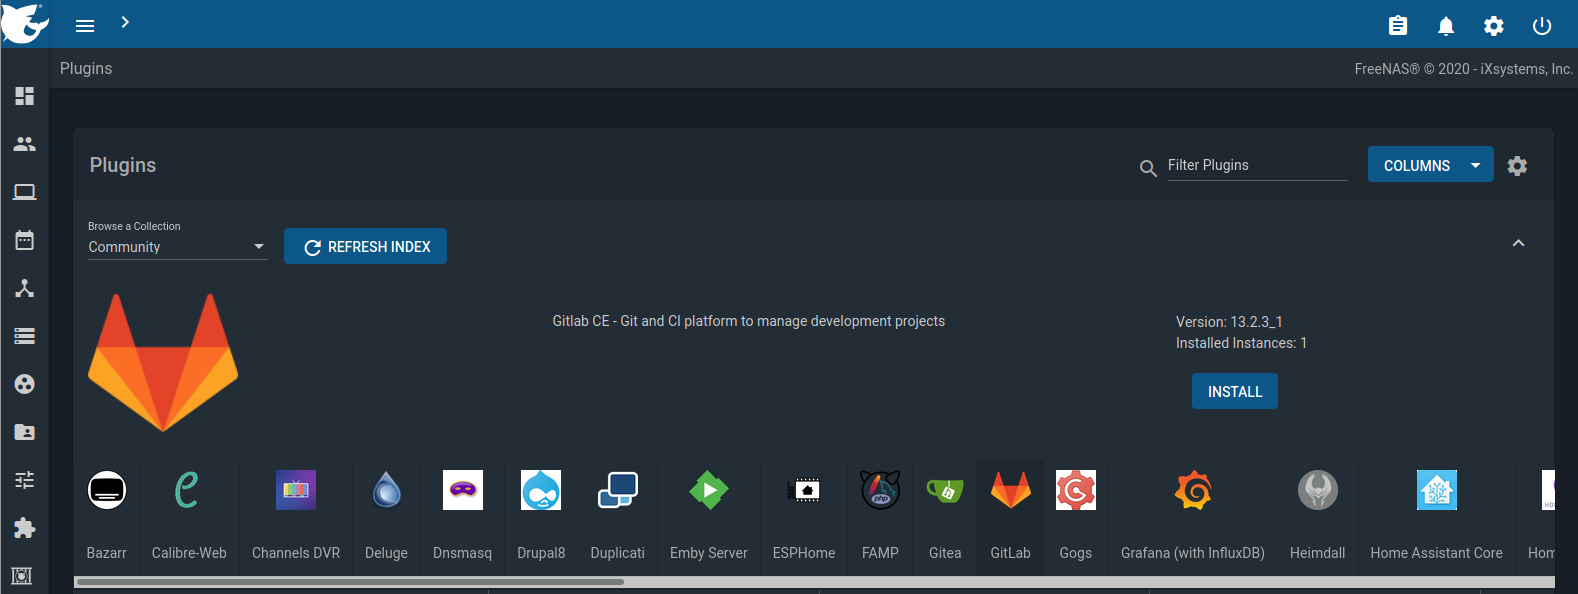
Running a local git server has been on my mind for a while and I finally carved out some time to deploy GitLab on my FreeNAS box. Other git-related plugins available in the Community Collection are Gitea and Gogs. Deploying the plugin was a breeze and I was up and running with my own local Git server in a matter of minutes however it was conifgured to respond only over cleartext HTTP on port 80. I wanted to configure the web interface for HTTPS. Additionally I wanted to use a certificate signed by my internal Certificate Authority (CA). After a few days of searching and cobbling together information from different tutorials and documentation I was able to get it working. The steps are detailed below and I hope this will help others in the same boat.
Notes and Requirements
The procedure that follows has been tested on FreeNAS-11.3-U4.1 with GitLab Community Edition version 13.2.2 installed through the community plugin collection in the FreeNAS web interface. The following items are required for the steps below:
- a fully-qualified domain name (FQDN) for the GitLab instance (e.g. gitlab.myinternal.domain)
- SSL certificate and respective key issued for the domain selected
- a static IP address for the GitLab instance
- SSH access to the plugin jail or its mount point
Note: If you connect to FreeNAS over SSH the path to a file will be preceded by the path to the jail’s root. For example when referring to the file /usr/local/www/gitlab-ce/config/gitlab.yml its full path would be /mnt/volume/iocage/jails/gitlab-local/root/usr/local/www/gitlab-ce/config/gitlab.yml.
Install GitLab plugin
- In the FreeNAS web interface install the GitLab plugin following the steps in the FreeNAS documentation.
- Set a static IP address on the jail and configure your DNS server to resolve the FQDN to this IP address.
- When installation is complete, SSH into the jail or the FreeNAS box and navigate to
/usr/local/www/gitlab-ce/config - Make a backup copy of the configuration file by running the command
cp gitlab.yml gitlab.yml.original. - Edit the configuration file
/usr/local/www/gitlab-ce/config/gitlab.ymlas follows:host: set the FQDN for the instanceport: 443https: true
Enable and Configure HTTPS in Nginx
Nginx is the web server handling requests to the GitLab instance and its configuration must be changed. GitLab has provided an Nginx configuration for HTTPS which will need some tweaking to match the jail environment. My gitlab-ssl configuration file is available here for your reference.
- In the Nginx configuration folder (
/usr/local/etc/nginx) create a directory namedssland upload the generated certificate and respective key to this location. - Download either the official version or my version of
gitlab-sslto the Nginx configuration folder. - Edit the following sections in
gitlab-sslas described below while leaving the rest of the file as is:- set the socket file location in the
upstream gitlab-workhorsesection of the configuration file to match the original configuration. In my case the path is:1server unix:/usr/local/www/gitlab-ce/tmp/sockets/gitlab-workhorse.socket fail_timeout=0; - point the
ssl_certificateandssl_certificate_keydirectives to the ones you uploaded above. For example:1ssl_certificate /usr/local/etc/nginx/ssl/gitlab.crt; 2ssl_certificate_key /usr/local/etc/nginx/ssl/gitlab.key; - Set the
rootdirective to match the one in thegitlabconfiguration file. In my case this was:1root /usr/local/www/gitlab-ce/public;
- set the socket file location in the
- Save and close the file.
- Edit the
nginx.conffile to includegitlab-sslby changing the lineinclude /usr/local/etc/nginx/gitlabtoinclude /usr/local/etc/nginx/gitlab-ssl. Save and close the file.- This does not survive an update. All other changes do, but you will have to make this change manually each time you update the plugin
- From the FreeNAS web interface, restart the jail. When the jail is back up, navigate to its domain name and notice HTTPS is enabled.
Troubleshooting
If you get any errors after the jail has restarted check the log files in /var/log/nginx to determine the cause.
Compare the content of gitlab-ssl to gitlab paying close attention to any lines containing paths to files, root directories or sockets. The intent is to make gitlab-ssl identical to gitlab in most sections.
To roll back the Nginx configuration change the include statement to include /usr/local/etc/nginx/gitlab and restart the jail.